Pages

Welcome

Life, Liberty, and the Pursuit of Fabric... Welcome to the Patriotic Quilter where I like to share all things quilty as well as red, white, and blue! Please feel free to look around and enjoy yourself! I would love to hear from you.

Wednesday, January 30, 2013

My Favorite Schnibble

The Another Year of Schnibbles group is taking a bit of a break until May.  However, since everyone loves a parade, we are having one the first of February to share our favorite Schnibble.

Just in case there are people out there reading this blog that don't know what a Schnibble is, it is a line of patterns designed by Carrie Nelson under her  Miss Rosie pattern company.  You can see them here.  The Another Year of Schnibbles group is organized and the parades are shared by Sinta and Sherri at their blogs.  I only began last year, but they have been doing it for at least 2 years.  I have had so much fun!  I can't thank them enough for organizing it all, it must be lots of work, but I have so looked forward to the first of the month to see the parades!  Those days were the highlight of last year.

A favorite Schnibble quilt?  How can I possibly choose?  The reason that I LOVE making Schnibbles is because they use charm packs plus sometimes a bit of yardage.  Making them has allowed me to play with fabrics that I wouldn't necessarily have in my stash.  They have allowed me to explore  so much.  In this case it is the process that I really love.  As for the quilts, some I have gifted and some I have stacked in my closet.  I only have three hanging up.  So I have to ask myself, those three must at least be favorities since I have them on display, right?  Hmmm, I don't know.  It is sort of like asking which child is your favorite.  They all have their own purpose, personality, and history. 

I must admit that I am a very "influenced/relational" quilter.  By that, I mean that I remember what is going on in my life or in the world while I'm making a quilt.  I have had several quilts that were very nice quilts, and came out beautiful, but I could never stand looking at them because of what they represented or reminded me of.  One in particular I was piecing years and years ago during a Presidential election that didn't come out my way--and I finally donated it.  I wouldn't even give it to a family member.  I have learned to not work on a project in situations like that!  So choosing a favorite quilt for me doesn't just mean how much I like a particular quilt--but also how I felt while I made it.

I really like all of the Schnibbles that I have made, but so far, none is a favorite.  If I continue in this philosophical bent of mind, I would have to say that the next one is usually my favorite.  The dream of the "beautiful quilt yet to be made " is what makes me a quilter.  But, I didn't want to take a picture of my Schnibble patterns and stack of charm packs.  I suspect I should have a nice photo of a quilt to share for the parade.

So, with that in mind, I do have a favorite photo of a Schnibble.  That is really easy!  I love this picture way more than I like the quilt.


I love how the colors and shapes of what is in/on the water is reflected on the quilt.  I also really like the composition.  But most of all, I remember taking it.  It was just before we left Hawaii and I knew that I wanted to put Hawaii in the picture, some how.  I got my husband to set out with me one weekend afternoon, and we looked around for a place where we could get turquoise water and palm trees in a photo.  There were palm trees here, too, but they are pretty high up in the sky, so it was tricky getting them in a photo.  We spent some time trying out different compositions and taking many pictures, and in the process, had a fun afternoon.  So when I look at this picture, I think of that day and fun we had.  I like this picture so much, in fact, that I use it as my wallpaper on my computer.  In case you are wondering about the quilt, though, it is from the pattern Doc (it is a card trick block) and the fabric was from my stash.  I had lots of black and white, and white and black prints and wanted a place to use them.  I chose to combine them with turquoise because I totally fell for turquoise while I was in Hawaii.  My favorite color will always be red, but turquoise is currently my second favorite.

So there you have it:  I can't choose a favorite Schnibble (yet) but I do have a favorite photo of a Schnibble!

Have a great day!
JoAnne

Friday, January 25, 2013

How I Spent my Morning

Before


After


I haven't been up to much this week, aside from some "secret" things that I can't share right now.  I did manage to make a huge mess, so I took some time to clean up.  Boy did it need it!

Monday, January 21, 2013

Antique Baltimore Album Quilts Exhibit

My husband and I spend the long weekend in Colonial Williamsburg.  On our second day, we spent the afternoon at the Abby Aldrich Rockefeller Folk Art Museum.  We began with a guided tour.  The tour guide began by sharing a definition of folk art--art produced by people who have the urge to create but have no formal education in art.  I don't know about you all, but folk art is my favorite!  I love the naive quality and the usually simple forms.  I could go on and on about folk art, but this entry is about the quilt exibit.  Needless to say, I practically needed a bib before we even got into it, as the folk art had me drooling...

 
The quilt exibit was in its own small gallery.  The lighting in it is designed to not fade the quilts.  It made for terrible photography conditions, but I did my best.  This post is going to have many photos, but they are going to be worth your time!


The first one was a whole cloth quilt.  I was sort of wondering if this was the back of an appliqued quilt, so people could just notice the quilting, but frankly, I didn't read the write-up about this one.  I had just stepped into paradise!

 
The next one was a broderie perse quilt--are you familiar with that technique?  The maker cuts details from a printed fabric (usually a chintz) and appliques it onto the background fabric.  This was a quilting technique that goes back to colonial times.  It was also done by wealthy women--no one else could afford large pieces of fabric necessary for the technique.
 
Perhaps you can see that the motifs above are designs cut from a floral fabric.
 
 
I loved that the lighting in the exhibit room was even "quilty"  And do you see that little table?  It features tiles of quilt blocks so that kids can design their own quilt! (Yes, of course I played with it, too!)  You can see a closeup here below.


This is the first of the really traditional album quilts.  This one is all appliqued, but the border is a print fabric.


Here is a detail shot.  This block features many symbols of IOOF (Oddfellows).  More than one of these quilts was IOOF related.  There was also a Masonic one.  In this one, though, I love that tiny heart in hand!  And look at the quilting!!!  The stitches are miniscule!
 
 
This is a detail showing the printed border.


The next one was set on point.  I love how the red and green lattice weave over and under!  No fancy border on this one, just half and quarter square blocks and then a red and white strip set.  It looks like some of the half blocks were one appliqued block cut in half!
 
 
Closeup photos show the weaving lattice.  The block above is a papercut block--the pattern was folded like a snowflake and cut.  Other blocks were detail appliqued.  I love the tiny hexies below.


The next quilt was also on point with red sashing.  I think everyone knows that Baltimore Album quilts are defined not only by the exquisite applique, but also by the predominant use of red and green.

 
The applique just gets more and more complex!  I love this basket block.  Look at the basket--made with the cut out reed detail!
 
 
Next is one with a square setting and the first fancy appliqued border.


Also notice that some of the blocks are repeated 4 times--like the ones in each corner, and the rings of flowers block below/above each corner. 
 
I really tried to get a closeup of the quilting, but couldn't.  Can you see that the quilting is done in two parallel lines that are really close to each other?  The stitches were so tiny I could hardly see them! The photo below shows the grape pattern in the border.


The next quilt had a border of grapes, also, but they were done in purple, which adds to the traditional red and green color scheme.  This border is more complex than the last.  I also like the three strip lattice.
 
 
Here is a detail photo.  You can see that the quilting is a small on point grid.  It also looks like there was some writing in this block--another common trait of the album quilt.  Sometimes verses or names were inked in.


Are you overwhelmed yet by the skilled work?!  I was!!  This next one has a larger block surrounded by smaller ones.  Can you see that trupunto is being used here?  Can you see how some of the shapes are stuffed?  I love the rosebud border, as well.  Also, I really like how there isn't any sashing so that the applique just pops off the background.
 
(The vertical line is in the display glass, not on the quilt)


Look at that quilting!!!!!

 
The fruit bowl...  And of course, below, I bet you can tell what I like--the flags!  Also, check out the ruched flowers.

 
This one may be my favorite.


Actually, I suppose this is my favorite thing in the room.  Sorry everyone, he's mine!  But check out that quilt behind him.  Let's get him out of the way...
 
That's better.  Again, this one doesn't have sashing, but look at that border!  This is the quirky one.  Can you tell that the blocks in the top half are upside down?  I'm guessing the maker wanted it to look good hanging off the bed?  Or maybe it was to be hung over a pole or something?   Let's get a closer look.
 
 The block above is from the lower part of the quilt.  Look at those tiny pieces in the basket!  The block below (more flags!!!) is from the upper part of the quilt and I didn't flip it--those blocks are all upside down. 


The border is a densely appliqued row of zig-zagging flowers and leaves.  Notice the trapunto quilting. 
 
 
Whew.  After those masterworks of applique and quilting, the next one featured some simplicity.  This one only uses these harp blocks.  Also notice that the corners are rounded.


Even my husband noticed the missing quilting in the lower corner.  An intentional mistake?  Or did it wear away?  Who knows...  My favorite thing about this quilt is that it wasn't made in Maryland, but across Chesapeake Bay.  It was made in York County, Virginia--I live in York County, Virginia!
 
 
The last one I thought was modern.  The colors are so bright!  A quick check showed it to be from the 1850-60s, though.
 
This one has a nice scalloped border, no sashing, and grid quilting.  It must have always been put away because the colors were not faded at all.


So, which do you prefer?  Do you like them with sashing or without?  Are you ready to sign up for applique classes yet?  Do  you have ten years to spend on your next project? 
 
I hope you enjoyed the quilts.  If you are at all within travel distance to Williamsburg, I highly recommend a visit.  There was an hour-long talk about them earlier in the week, I missed it! But, I'm going to watch for it and hopefully get a chance to go back to hear more information.
 
 
Have a great day!
JoAnne
 

Sunday, January 20, 2013

The Story of an Old Quilt

Hi Everyone!

I know I've been a bit light on my blog posts this week.  My husband and I just got home from Colonial Williamsburg.  Please come back later this week as there was the most incredible exhibition of antique Baltimore Album quilts, and they allowed photos, so I will be sharing!

Today I am going to talk about a quilt I made long ago--way back in the late 90s.  Maybe 1998?  I was in the very first "edition" of the Thimbleberries club.  What sparked this post is that Kim, over at Kim's Big Quilting Adventure, blogged recently about making the quilt from that first year.


Here is her picture of the quilt.  When I was making it back in the 90s, McCalls Quilting had just had a hugely successful "serial" quilt in their magazine by Robert Callaham called "Grandma's Country Album."  I was in love with it, but at that time, I didn't applique.  Following on the success of the first quilt, Robert designed another quilt, and it was running in McCalls at the same time as I was starting Thimbleberries Club.

Here is a picture of it--you can sort of see it here.  Robert used Thimbleberries fabrics in both of these quilts.  I considered for a while and decided that maybe I could "redesign" some of the blocks from the Thimbleberries Club quilt to fit the shapes of the blocks in the Country Album II quilt.  There are 13 blocks in this quilt, so I had add something else, so I used a leaf block.  When I got all the blocks done, I cut hundreds of small squares to piece for lattice, just like shown in the picture.  I put the quilt together and hated it.  The pieced lattice worked in Robert's version because the blocks were appliqued.  Having the pieced lattice against pieced blocks did not work!  I thought about it and decided to use one fabric for the lattice.  I hated to waste all those small squares, though, so I used them for the border.  I really liked how it came out.

 
Here is my version!
 
 
I used to really love Thimbleberries fabrics, patterns, and BOMs, but after a while, I found the patterns to be a bit simplistic for me.  They are perfect for beginners!  I also am really ambivalent about make the exact same quilt as potentially hundreds of other people.  I love how this version is very unique!  I think I did one more year of Club and then I stopped.  Now I'm trying to "use up" all my Thimbleberries stash and haven't been buying any more.  Her pallette is just too brown and dark for me these days.  By the way, I did teach myself to applique so that I could make the first Grandma's Country Album.  Maybe I will show a picture of it at a later date.


I hope everyone has a great day!
JoAnne

Tuesday, January 15, 2013

Meet Jody

Hi Everyone!

I hope things are nice where you are.  Here the rain has been drumming down all morning.  It is going to be a soup or stew day--I haven't decided which yet, but the weather surely calls for something simmering all day wafting its savory scent all through the house.

I would like for you to meet Jody!


This is my Chicopee/McGuffy quilt so far.  The rows are assembled in pairs--just two more seams and the center is together.  Then it is on to borders. 

I don't often name a quilt something special, but this name seems perfect to me.  See, the word Chicopee sounds to me like one of the words used in the movie Nell.  Do you remember it?  I don't think I've seen the whole thing, but I saw parts of it.  Jody Foster plays a young woman who grows up in the boonies by herself and has her own language and some expert goes to study it/her.  Chicopee reminds me of something the character often said, so at first I thought I would call this Nell.  Then, I remembered something else.

I think everyone knows what a "Dear John" letter is.  Well, in the Army, where Dear John letters are common and maybe even originated, they refer to the guy who stole away their girl as "Jody."  Jody featured (or probably featured in the past as he is probably no longer Politically Correct) heavily in the cadences that soldiers call while marching.  In fact, cadences are sometimes referred to as "Jody Calls." 

I've had such a fun interlude from my norm here--that it is almost like I'm "cheating" on my usual stash/project, so it became obvious to me that "Jody" is the perfect name for this quilt!

I hope you all have a wonderful day!  I'm off to get my hair done, so mine will be improving.

JoAnne

Saturday, January 12, 2013

Play Time


After working and finishing those two major projects, I was in the mood to have some fun with a fresh, smaller project.  Of course, the perfect solution is to make a Schnibble.  I seem to be acquiring  charm packs and coordinating yardage at an alarming rate, so all Ihad to do was choose a fabric line, and match it to a fun Schnibble pattern and then get down to it!

I love that there isn't too much thinking about fabric choices when I make a Schnibble.  I have read all the instructions, books, and blog entries written by Carrie Nelson, so I have learned that not every charm pack works with every pattern--you sort of have to look at the fabrics available and see if they will work with the pattern you choose.  I decided I wanted to play with Chicopee--a line of fabric that was out last fall.  Everyone was blogging about it and talking about snapping it up, so I ordered some.  Then it arrived and I looked through it and thought, "Oh..  Okay...  Hmmm... "  If there was ever a line of fabric that is the total opposite of my usual style, this would be it.  However, I'm trying to push myself in different directions, so I decided to play with it. 

Next I flipped through my Schnibble patterns and books looking for a pattern that would work.  I thought that Lincoln would do, and when I went through the fabric squares, it would, but I didn't think the stars and stripes would work in this fabric as well as something else, so I moved on.  Finally I settled on McGuffy.  It isn't a pattern that would be in my top 10 either, but I thought it would work really great with Chicopee.
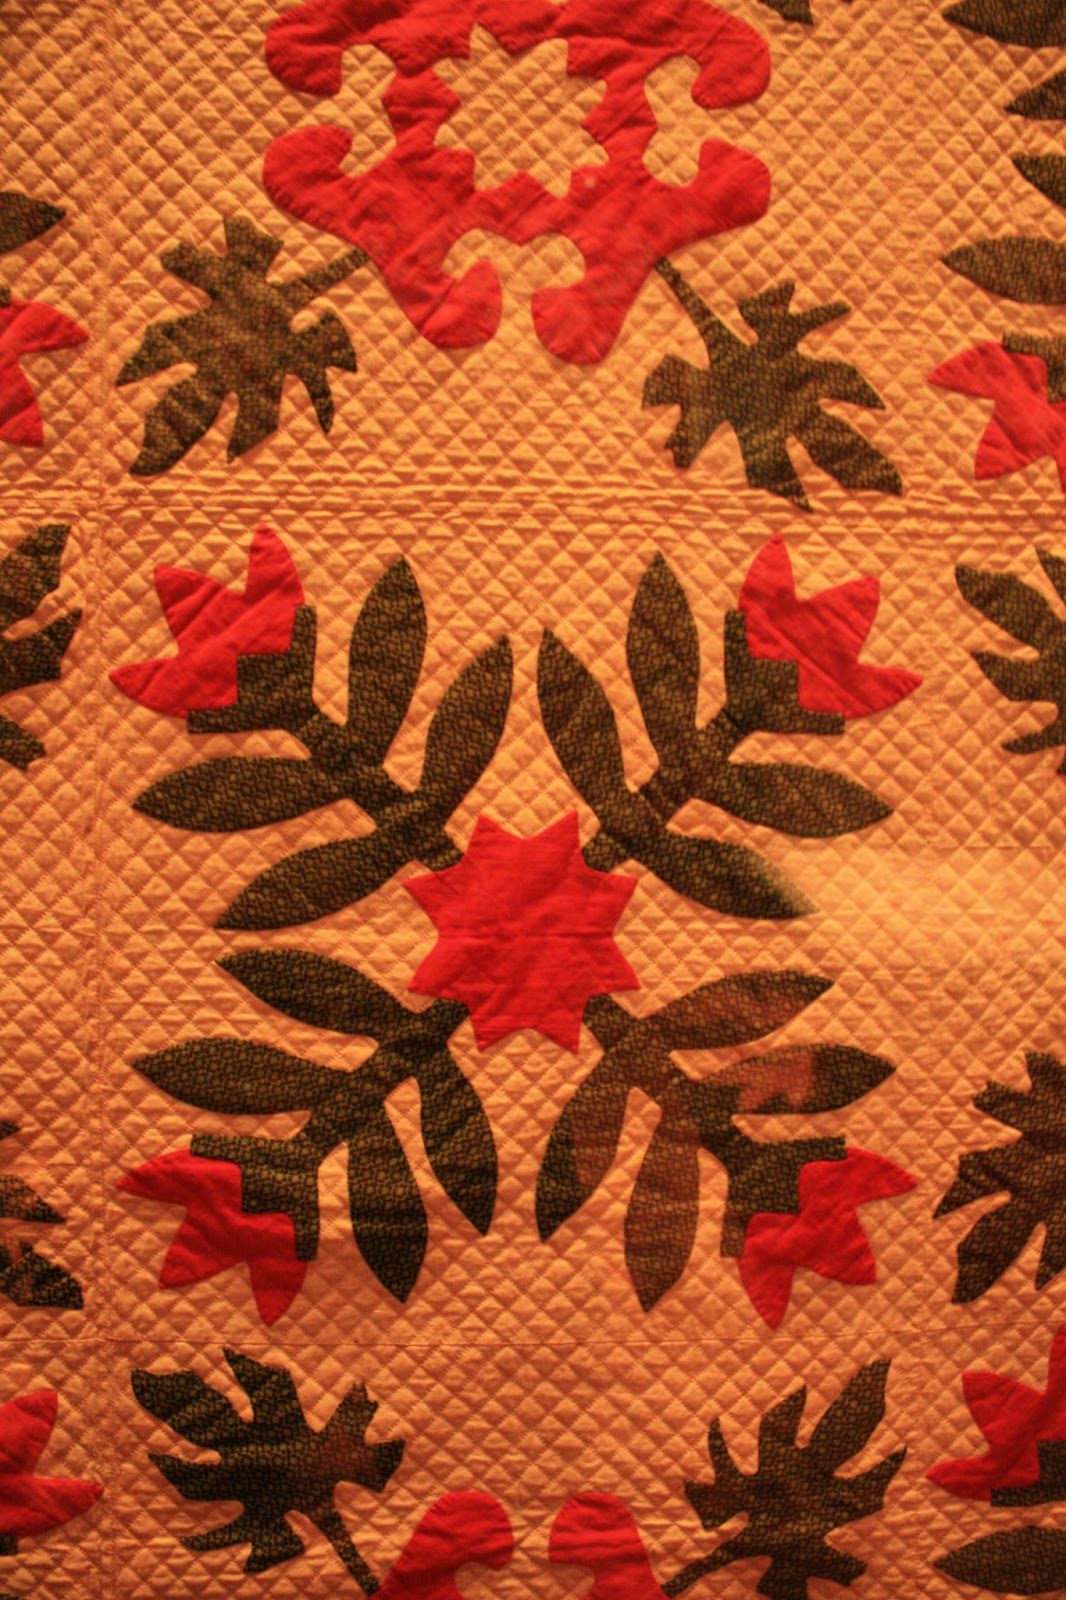
This is not my version--just a picture of the pattern.

So this morning I got started cutting and then sewing.  I LOVE this pattern!  It is so easy and FUN--it really is like playing.

Then I got interrupted.  We had an Official Army Function to go to.  In the Army there is a long tradition of New Year's Day Receptions at the Commander's house.  Well, it is long past New Year's Day, but ours was today.  It requires dressing up--for spouses who aren't in the military, the dress code is "semi-formal" which means dressy church clothes.  Don't forget that I lived in Hawaii for three years, so most of my dresses have flowers on them and are worn with sandals.  I didn't think that would work for Southern Virginia in the winter, so I was forced to look in the back of my closet at the dresses I owned before Hawaii and which require hose and nice (with heels) shoes.  Ugh.  My husband had to wear his dress uniform--the one with all the gee gaws--the bling--the "schwag."  I should have taken a photo, but when we were getting ready I was "pulling faces" and grumbling.   I mean who schedules something at 2:00 on a Saturday afternoon?!  On the way I was speculating at the poor turnout I expected, however, many more people than I expected attended, and all in all, it was fun meeting some new people and having "sparkling" conversation.   I guess if given a choice, I am very happy hanging out at home, quilting, etc. but when I do make myself get out I have a really good time.  When we got home, I was too desperate eager anxious to get out of the shoes and hose to care about a picture.  Oh well.  Maybe next time!

I hope you all are having a wonderful weekend!  Maybe I will have pictures of my new project next time.

JoAnne
 

Thursday, January 10, 2013

Another Finish

Hi Everyone,

I have finished another major project!  Yeah!  Back in October, I took a class from Marcie Patch.  This quilt is called Old Elegance, and you can find the pattern on her website here.

I have been calling this project my "chocolate covered cherries quilt" in reference to my color scheme.  Marcie is such a great teacher and I feel as though she is a new friend!  I also fell in love with her patterns--they are right up my alley--and I have a pile of them waiting for me to get to them.

Without further ado, here are some pictures:

Obviously, this is the entire quilt top--hanging from my clothesline.  As soon as I was done photographing the quilt, I hung out our bedsheets.  I can't wait to go to bed tonight!  I LOVE the way sheets that have been hung to dry outside smell...

Back to the quilt...


Here is a closeup of the blocks.  There are two, the star block and the fourpatch block.  All I had left to do on this was to complete a dozen of the stars, and then assemble the top.  And I even had the units done, I just had to sew the nine squares together to make the block.  It didn't take too much work, but right in the middle of it, I got a horrible headache and ended up in bed for most of Tuesday afternoon.  I'm back to normal now.

When it came to the border, I knew I wanted to miter the corners.  I suspected that the border fabric would really lend itself to a pretty miter, and I wasn't disappointed!

Now all I have to do is decided how I want it quilted and then send it off.  I'm really pleased with how it came out, but the best thing is making a new quilting friend and blog buddy!  Thanks Marcie!

JoAnne

Monday, January 7, 2013

New Project

Once I got Easy Street off my plate, it was time to turn my attention to one of the projects I wish to do this year.  This is a free block of the month, called The Blogger Girls Block of the Month by Monique Dillard of Open Gate Quilts.  You can find the details here.

If you read many blogs you may have already heard of it and seen many of the talented blogger's versions.  The general idea is that it will run for 6 months.  Each month there will be a pattern for one block, but by varying color/value placement, you can make two distinctly different-looking blocks.  That alteration idea was what drew me into participating.

This pattern uses Monique's brilliantly-designed ruler, the Fit to Be Geese.  I love all her rulers!

I'm just using fabric from my stash.  I have a large piece (okay, most of a bolt) of a great fabric that I got on clearance and have been wanting to use.  It has many colors in it, so I pulled a large variety of fabrics from my stash to coordinate with it. 

 
This is the first version of the pattern


And this is the second.  As you can tell, they look fairly different.


Have a great day!
JoAnne

Sunday, January 6, 2013

Easy Street Journey Complete (Except for Borders)

Hi Everyone!

Goodness, I have been a very bad blogger lately.  My parents were here and so we spent time having fun and otherwise "larking about" (or at least bird-watching, ha ha) while they visited.  I very immediately "hit the road" on Easy Street after they left, though.

When I read Bonnie's directions I got a bit uneasy when she said that there may be problems with the seam allowances not going in the right direction to nestle.  That really makes me unhappy, but the great news was that it wasn't that bad.  I had to clip and repress a few here and there, but nothing like I feared.

I arranged both block types on my design wall and analyzed how I wanted to go about constructing them.  Both looked to me like a framed 9-patch, so that was how I made them.  I began by carefully choosing the 9 "patches" for each.  I didn't want any obvious star points or squares to be the same.

Here are my Block A's with the center 9-patches complete.  I didn't want any of the navy triangles, the red squares, or the medium blue squares to be doubled--I wanted as much variety as possible.

Next, I prepared the "framing" pieces:


Next I used the framing pieces and the four-patches in the corners to frame the 9-patch to complete the blocks.

 I repeated the process for the B blocks, but I don't have any photos of them or the setting triangles under construction.  I do have this picture of my design wall, though.


Can I just add a comment here?  What is it about turning blocks 45 degrees (on point) that makes everything so darn confusing??!!!  Ugh!  I did the blocks first and then worked on the setting triangles.  The 4 small ones were easy enough, but the larger ones were more complicated.  No chain-piecing for me--I made all 12 individually so I wouldn't mix anything up.

Are you waiting for the big reveal?  I know I was.  It was about the only thing keeping me focused.  That and the Monday Link-up deadline!


Ta Da!!!  Here it is, sans borders, though, as I don't have anything yet.  I'm not even sure of my border plan.  With this coming out as a square, I am tempted to enlarge it for a king-sized quilt, but still have no idea how to proceed.

 
As you can see, we still don't have any snow here in Virginia.  Can you tell how I "hung" this?

 
We have this "structure" in the back garden.  Laying across the middle are a bunch of lengths of bamboo that my husband trimmed in the summer.  I got the idea that maybe I could attach the quilt to a piece of it and then lay it across the top of the framework for a picture.

 
I used some of my husband's woodworking clamps.  They worked great!  And I carried it outside to the back yard.


After I photographed it, I stood back to admire it.  And then I saw it!!!  Can you find it??  A mistake!

 
Here at the top edge--one measly 4-patch is turned the wrong way.  At least it is at the edge and so easy to fix.  I did toy with the idea of leaving it as a quirk, but then decided not to. 
 
With just a bit of ripping, pressing, and stitching, it was fixed in no time.  And I photographed the quilt again just so it would be correct.


Much better!


EasyStreet 058 
Bonnies Quilt!


I love how mine came out, but I would like to take a minute to discuss fabric choices for a bit--in particular, value.  Early on, Bonnie mentioned that someone asked her about changing the colors and if value would make a difference.  She thought that in a scrap quilt, value wasn't as important.  I tend to agree for the most part.  When I assigned my new colors, I did so by comparing the yardage amounts.  The largest amount of fabric that Bonnie approximated (aside from backgrounds) was the lime green.  So I used red.  The next amount was for the turquoise--I wanted more navy blue than medium blue, so I assigned navy for turquoise and then medium blue for Bonnie's purple.  What I didn't realize or maybe even notice, was that her purples were much darker than the turquoise.  In retrospect, I wish I had switched navy and medium blue.  As you can see in the photos above, my star blocks (the centers of the B block) are MUCH heavier, visually, than Bonnie's.  Also, the A block (which I refer to as the arrow block as it looks to me like crossed arrows or something,) has less distinct arrows in mine.  Over all, I like them both, but I think that Bonnie's has a bit "lacier" feel to it and mine is more "blocky."  I  think mine looks like a wonderful mosaic tile floor or something and again, I love it, but I may have switched my colors if I had realized the difference. 

For now, though, it is done--in one large piece, until I decide how to border it.  I'm so excited for tomorrow's linkup  to see how everyone is progressing!

Have a great day!
JoAnne